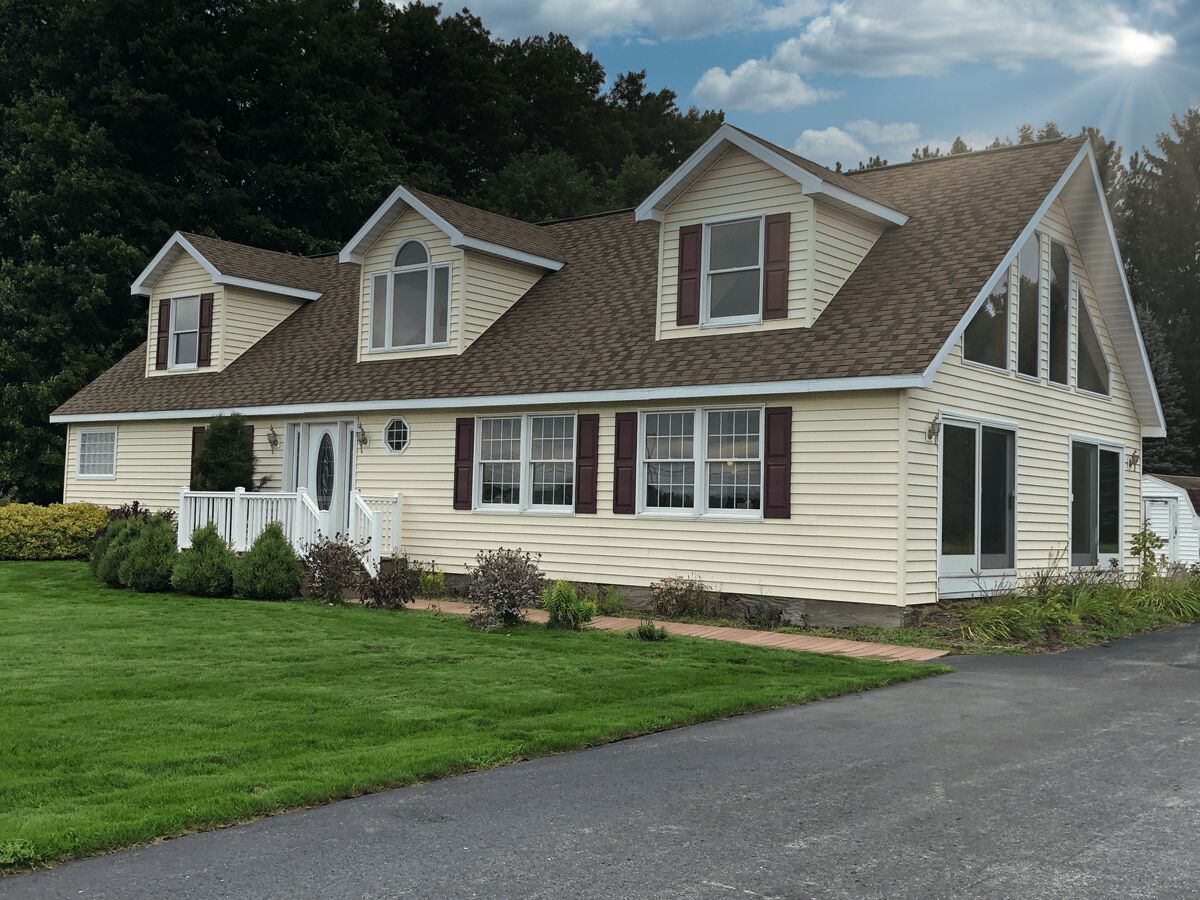
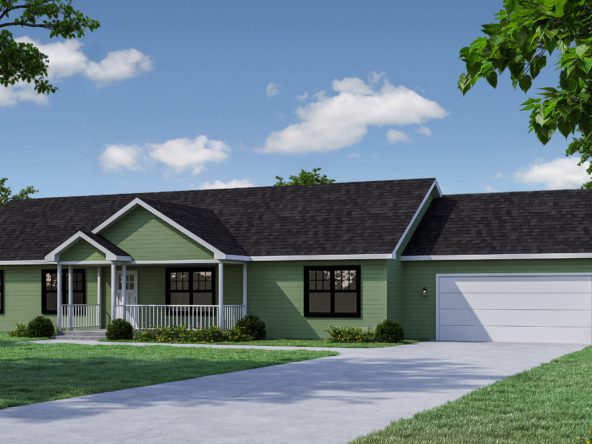
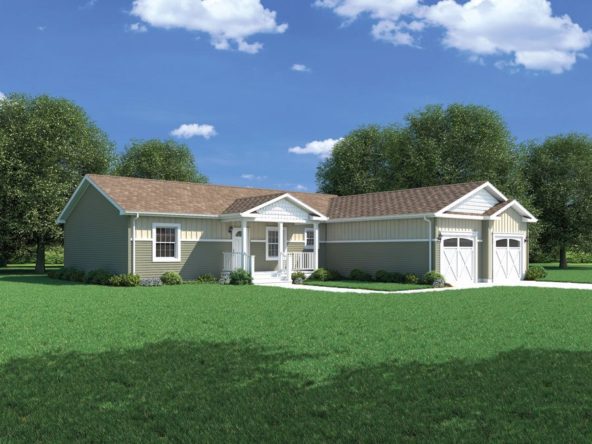
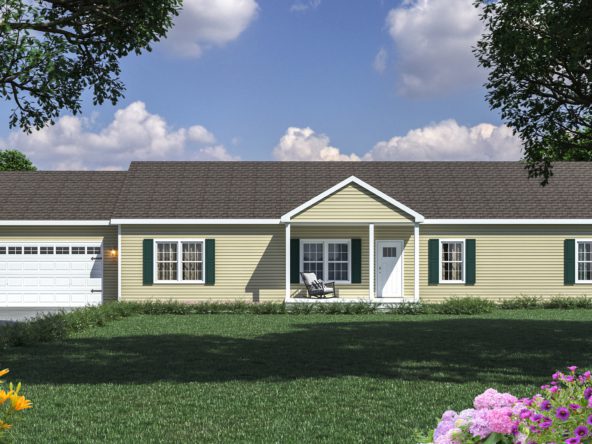
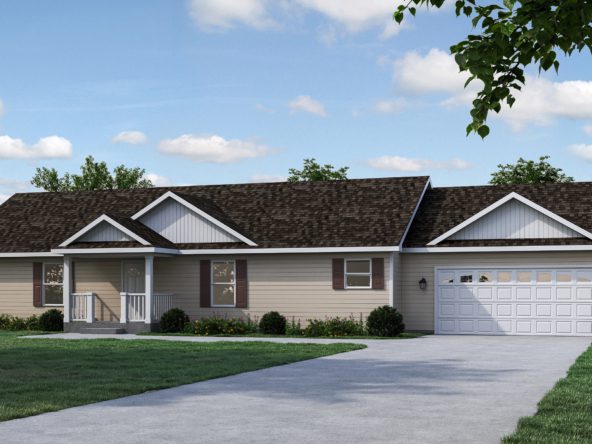
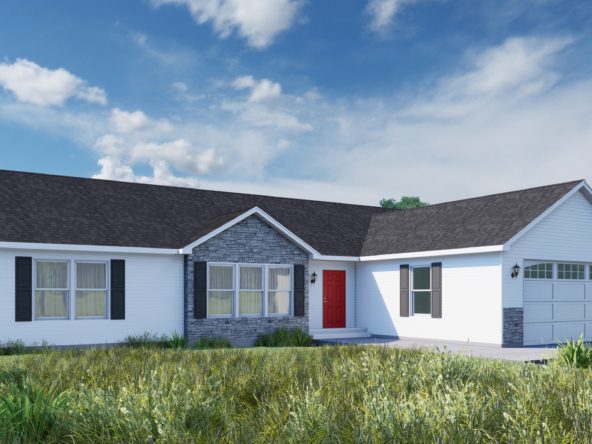
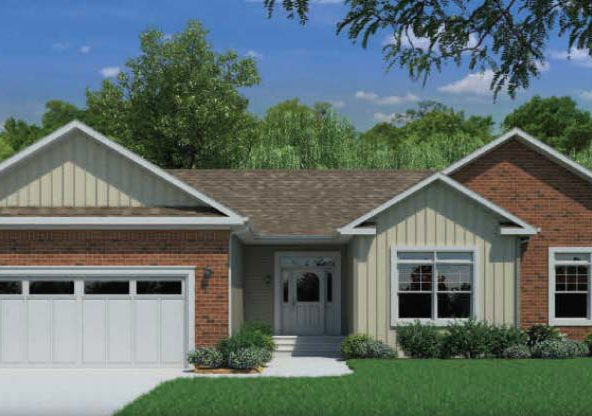
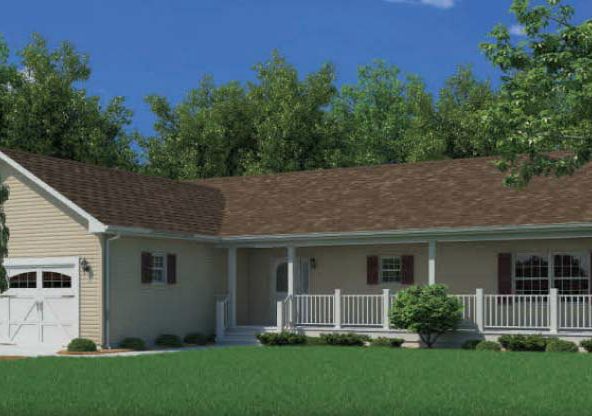
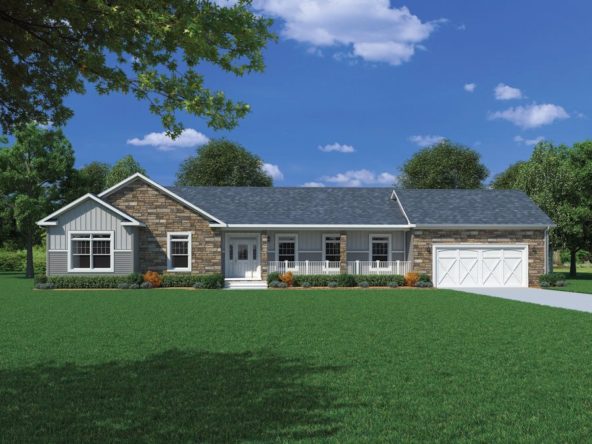
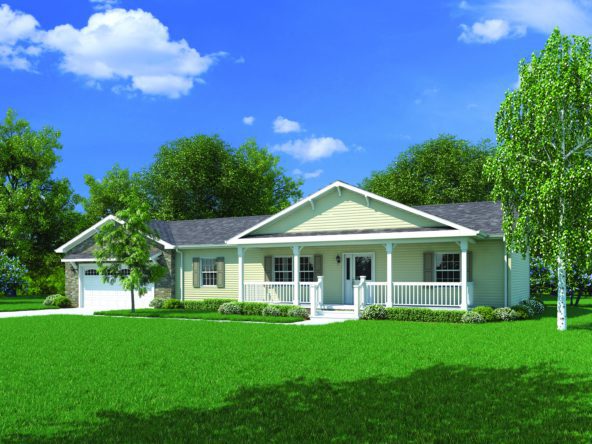
Carriage Custom Homes has been located in the Traverse City area for over 30 years, selling quality Heckaman Homes throughout northern and lower Michigan. Heckaman Homes is a manufacturer of custom modular homes, also known as off-site or systems-built homes. Our homes are built to the strictest construction codes to meet the same state and local building codes as any site-built home.
We are a modular home that is systems-built, stick-built indoors and off-site (in a dry, weather-controlled, factory setting) with superb and accurate building systems in place for better quality; hence the term off-site, systems-built modular well describes our product. Our homes are not susceptible to weather conditions as homes that are built on site. They are built strong, shipped on a flatbed carrier, and are crane-set on the foundation. They carry a 1-year service warranty and a 10-year structural warranty.
Hello, my name is Larry Lant with Heckaman Homes. I’m the sales manager here at Nappanee. Today we’re going to spend a little time going through our manufacturing facility and show you exactly how our homes are constructed. I’ll also try to give you a few differences between a site-built house and a system-built house. So if you’d like to let’s get started.This is where the entire operation starts.
All of our floor systems are built on 2 by 10 or 2 by 8 floor joists. We use a double band joist on the front and the rear of the house, with southern yellow pine at the marriage line. So when the house comes together, you’re going to have four 2 by 10s down through the center of your house for support, Utilizing our solid 2 by 10 floor joists. You see no open knot, holes and no splits in this lumber. If we do happen to run across a floor, joist that has an open knot, hole or a split, we’ll, throw that off to the side and cut it up to use for blocking.
We will not put any inferior material in a Heckman home Every place that you see a blue line struck across this floor, you’re going to see a solid 2 by 10 floor joist underneath that area, The blue line is struck to give the craftsman an area to Nail the floor system: All of the floor system is decked. Before the decking goes down. We will put the freshwater supply lines which are all rigid, copper and the water lines in. We use leadless solder in those particular water lines Once the water lines are in, then we can come through and deck the floor. All of our floors.
Decking is 3/4 of an inch thick and tongue and groove Also all of the floor. Decking is glued hand, nailed and mechanically fastened When we say mechanically fastened we’re going to use a pneumatic nailer to nail all of that floor system down Once that’s done, we will come through and sand all the seams in the floor where the resilient or vinyl floor, Covering will be put down Once that’s done. We can cut the duct-work in for the boots, Then we are completely going to cover this floor from end to end with a heavy visqueen, because we want to protect this floor during the construction That visqueen will catch. All of the sawdust drywall compound and paint splatters, which will be caught in that visqueen. So at the end of the line we can cut that visqueen out and throw it away.
We’ll have a nice clean floor to lay the carpeting on. At that point, the floor is going to move into the next area, where we’re going to start installing the exterior and interior walls.As. We walk through here you’re, going to see a 2×3 wall. This particular wall that we’re looking at is one half of the marriage wall.
So when the two halves of the structure come together, we’re going to have a six-inch wall down through the center, which is going to carry the load-bearing of the marriage wall In the wall jig here all of the interior walls are built After the interior walls are Built they’ll be set up and ready to be installed on the floor system that we just looked at Then the 2×6 exterior wall will be built in this particular jig. All of the walls are built with half-inch drywall. All the interior walls are two-by-four construction and the exterior walls are 2×6 construction which we’ll talk about a little bit later, But you can see that all the drywall on the interior is half-inch. The interior drywall is nailed, screwed and glued When the floor moves up into this particular area. The first wall that we’re going to set is actually going to be the marriage wall, So we’ll set the marriage wall.
First then we’ll set all the interior partitions. The last wall – that’s going to be set will be the exterior wall, So we’re literally building the house from the inside out. After that’s done, this particular house is going to move into the next area.
On this particular house. You can see that we have all the interior partitions set in the house At the bottom you’re going to see steel plates here at the drain lines. Those steel plates are applied to make sure that no nails or screws can be driven into the drain lines. You’ll also see the plates here at the top. The large plumbing apparatus such as the tubs and the showers are all installed at this time.
Also again, you can see that the floor has been covered with a heavy visqueen You’re, starting to see why we want to keep that floor covered to keep the debris off of the floor. This particular house has the exterior walls set in place. As you can see, the exterior walls are all 2×6 construction. The spacing is 16 inches on center. We use a double top plate with two 2x6s at the top and a single bottom plate.
1 2×6 at the bottom. You’ll also notice that we have a visqueen vapor barrier here on the exterior wall That visqueen vapor barrier is there to ensure that any moisture that’s generated inside your house does not pass through this side wall You’re going to generate moisture inside your house from taking baths. Taking showers cooking and just living in your house, You’re going to generate moisture Well in the cold climate that we’re in here in northern Indiana. We don’t want that vapor, that’s being generated on the inside of your house to pass through this exterior wall. Because what can happen is that vapor can pass through the insulation and the cold sheathing.
That’s on the outside of this particular wall That vapor can hit that cold, sheathing, condense and turn back into liquid. We don’t want that liquid on the inside of your wall, because obviously it’s going to deteriorate the material and also could cause a mold problem. So we want to keep that moisture from coming through that wall. We want that moisture to go out of the ceiling. We want it to pass through the ceiling, because you have a continuous ridge vent at the peak.
You will also have continuous soffit vents on the overhang, So you’re going to have a constant airflow through that attic cavity. That’s going to dissipate that particular moisture. Also at this time you can see all the rafters have been set on the house. All the rafters are set two-foot on center 24 inches on center.
Once those are set, then we will come through and we will first strip the entire ceiling. What we’re doing is we’re crisscrossing that particular ceiling, so there’ll never be any movement in those rafters Plus when we apply the drywall to the ceiling. All of that drywall is going to be glued and screwed, So you’ll never have any problem with any cracks in your ceiling. As you can see, the large opening on the marriage wall in this particular house that particular opening is carried by the large laminated beam that you see over our heads here That particular laminated beam gives us the opportunity to open up the marriage walls. In some cases.
Up to 19 and a half feet depending upon the snow load area that the house goes in, But this particular house, as you can see, is getting ready to have the electric installed inside the house. All the electric is done to the National Electric Code, the NEC code. We also have smoke detectors in all of the bedrooms. We also have a carbon monoxide detector in the living room area.During this particular time as the electricians are working in this particular house.
You’ll see that all the material that the electricians are going to use are going to be in this work area, so they don’t have to run from one end of the factory to the other to get their materials. All the materials that are going to be used are located in this particular area. After the electrical has been completed in the house, the drywallers can come in and start installing the drywall on the interior. You can see in this particular house the drywall has been installed and the drywall finishers have been on the interior, finishing the seams and also the nail and screw heads In this particular house.
You can also see that we have stippled the ceiling, So the ceilings have been stippled. The drywall has been finished and it’s getting ready for paint.All. The wiring that you see here is run through steel, sleeves on the marriage line. That’s so any additional work that you would want to do on the interior of your house.
You’re never going to be able to drive a nail or screw into that electrical line. Also, in this winter time, have you ever put your hand down beside the receptacles in your house and felt all the cold air that blows in What we do prior to insulating the exterior walls is we are going to come through and we’re going to caulk all The way around these boxes We’re even going to caulk the wires that go into those boxes, to ensure that you’re not going to have any air infiltration into that electrical box or into any of the switch boxes. Once that’s done, then we’re going to come through and we’re going to insulate the exterior walls We’re going to insulate those walls with our 21 high-density fiberglass insulation. The fiberglass insulation that we use is EcoBatt insulation. It is a brown insulation that is a natural look of insulation.
There are no dyes, there are no chemicals in that particular insulation and there’s no formaldehyde. Once that’s done we’re going to fill this entire cavity again with an R21 high-density insulation, It will be tacked at the top to make sure that gravity does not pull that insulation down Anytime, that the insulation isn’t installed around the wire. The insulation will be split and then actually clamped around that wire, So we’re going to have full access to that insulation. Once we’ve insulated, the exterior of the house we’re going to come through and we’re going to sheet the entire exterior. The exterior is going to be sheeted with 7/16 inch sheathing. All the way around that particular sheathing is going to be glued and mechanically fastened. What we’re doing once that sheathing goes on is we’re tying this structure into one solid structure On the marriage wall, where the two halves of the structure come together, we’ll use quarter-inch sheathing, So you’ll have quarter-inch sheathing on each half, As the house comes together, you’re going To have half-inch sheathing down through the center Number one it’s going to add strength. Secondly, it’s also going to act as a sound deadener down through your house.
Once that’s done, then we can put the house wrap on. As you can see, once the house has the house wrap on now we can install the windows. All of our windows are Andersen windows, They’re all thermal pane windows with high-performance glass. The windows are clad on the exterior, so there is no need to have any maintenance whatsoever on the exterior of the house. The window itself is cocked into place.
Then, once it’s cocked into place prior to installing the siding on this house, we will tape. All of these windows all the way around to ensure no air infiltration on the exterior of this particular house Once the windows are installed. What we’ll do is the area between the window and the rough opening of the window itself. We are going to cut strips of insulation and pack that insulation all the way around that window again to make sure that we’re not going to get any air filtration around that window. We don’t want to foam that particular area, because foam will have a tendency to expand It’ll push the edges of the windows and make them hard to open and close.
All of the Andersen windows are all tilt-wash, so all of those windows can be tilted in to wash from the inside, So you don’t have to do that on the outside. On the ladder.We’re going to sheet the roof with 7/16 inch sheathing, Then we’re going to put one layer of 15-pound felt paper down A lot of new home construction. Today they don’t even use felt paper. They’ll put the shingles directly on the sheathing.
Well, we know in this climate and the wind that we have in this particular area once in a while, you may get a shingle that blows up. We don’t want any of that moisture to get under that shingle and then be able to get into that sheathing. So one layer of 15-pound felt Then we’re going to come through and put the CertainTeed algae-resistant shingles on After that particular stage is done. Then we will completely cover this particular roof for transportation. We don’t want to put all the shingles on then go down the road 50 miles an hour and blow the shingles off, So we will completely cover this particular roof.
With this plane.Now you can see the house has really taken shape. The interior walls have been primed and painted. They have been painted with one coat of a very heavy latex paint. It’s a Sherwin Williams paint.
It is a latex-based paint. Now you can also see in this particular area of the house you’ve got a number of switches and receptacles here, So obviously this is the kitchen area of this particular house. If you take a look at the floor now, you can really tell why we want to keep these floors covered, because this is the dirtiest part of construction. The drywalling and the painting, So we want to keep these floors covered and clean at all, times.
Now we’re moving into the final finished stages of the house. You can see this particular house is, then the ceiling The roof has been covered with the heavy visqueen. The outside walls are going to be covered and all the openings will be covered, so the house can be delivered without the house getting dirtied with road, grime and dirt. All of the interior of the house is pretty well finished at this particular time. The interior trim has been installed, the cabinetry countertops have been installed.
Carpeting would be installed at this particular time. Once that carpeting has been installed, we would cover it with a heavy visqueen, so it’s not going to get dirty or damaged during the time the house is being finished. Any areas that have vinyl or resilient floor covering those will all be covered with cardboard again to make sure that they’re not going to get dirty or damaged.Take a look at this particular house, which happens to be a Cape Cod with an open loft in the area. We’Ve got these large areas, so all the material that will be used to finish this house is going to be loaded on the inside.
So as you can see, the exterior siding the roof materials. The plumbing tie-ins will all be in this particular house and ready for delivery. The railings that are going to be used for the upstairs loft area will also be loaded into this particular house. The interiors, the house is 90 % complete at this particular stage. You can see that we have the doors and trim installed in the house.
The floor covering is down on the floor, Ceilings have been stippled and any carpeting that would be in this particular house would be installed and covered. So the house, at this particular stage, is 90 % complete and ready to go out. The door.This particular house happens to be a Cape Cod, so the roof system on this particular house is a double-fold roof. In other words, the four-foot section at the peak will be folded under then the roof is laid back down on top of the house.
So when the house gets to the job site that roof is going to be picked up, pulled out and raised for construction, The cabinetry has been installed in this house. All the cabinetry that you see is all Merillat cabinetry. The countertops have been installed. The trim around the windows – you can also see that the corners on this particular house are all bull-nosed corners or rounded corners rather than the 90-degree corners In this particular home. The consumer did not order appliances, but appliances are available.
The range refrigerator dishwasher and garbage disposal are available, but have not been installed in the house. We would lay them down and have them installed after the house is on the job. Site.The exterior of all Heckman homes is virtually maintenance-free. You have vinyl solid, fine, vinyl, siding polystyrene, shutters, aluminum, fascia and soffit.
Even the brick mold around the door is now vinyl-clad, So virtually the house is 99.9 %. Maintenance-Free All homes have two exterior recesses, one on the front and one on the rear of the home. We also have frost-proof spigots on the exterior of the house. Every home has a traveler that follows the home throughout the construction process.
This particular traveler has prints of the home the production order of the house with the consumer’s selections. It also has a quality control traveler. This line traveler follows the home throughout the process is signed off by the assistant superintendents and the line foremen in every stage of the operation. It is also signed off by our third-party inspection and then put into a permanent file in the office and kept for 10 years. So, if you ever need any information on your particular house, it is kept on a permanent file for you.
This traveler will follow the house to the end of the line and then go into the permanent file.After. Your Heckman home has been completed. That particular house is going to be loaded on one of Heckman Homes’ carriers and delivered with our own crews. Our own truck drivers are going to set the house on the foundation.
We have our own finished crews. We also have our own service personnel. All of these people are employees of Heckman Homes, not contract labor, So they’re, using our trucks, our tools and doing their work to our particular quality standard. We’Ve all seen houses being site-built. It takes four months six months, eight months even a year to site-build the house Because of our efficiencies here at Heckman Homes.
From start to finish, it takes us two weeks to build a house two weeks to complete a home.
Compare listings
ComparePlease enter your username or email address. You will receive a link to create a new password via email.